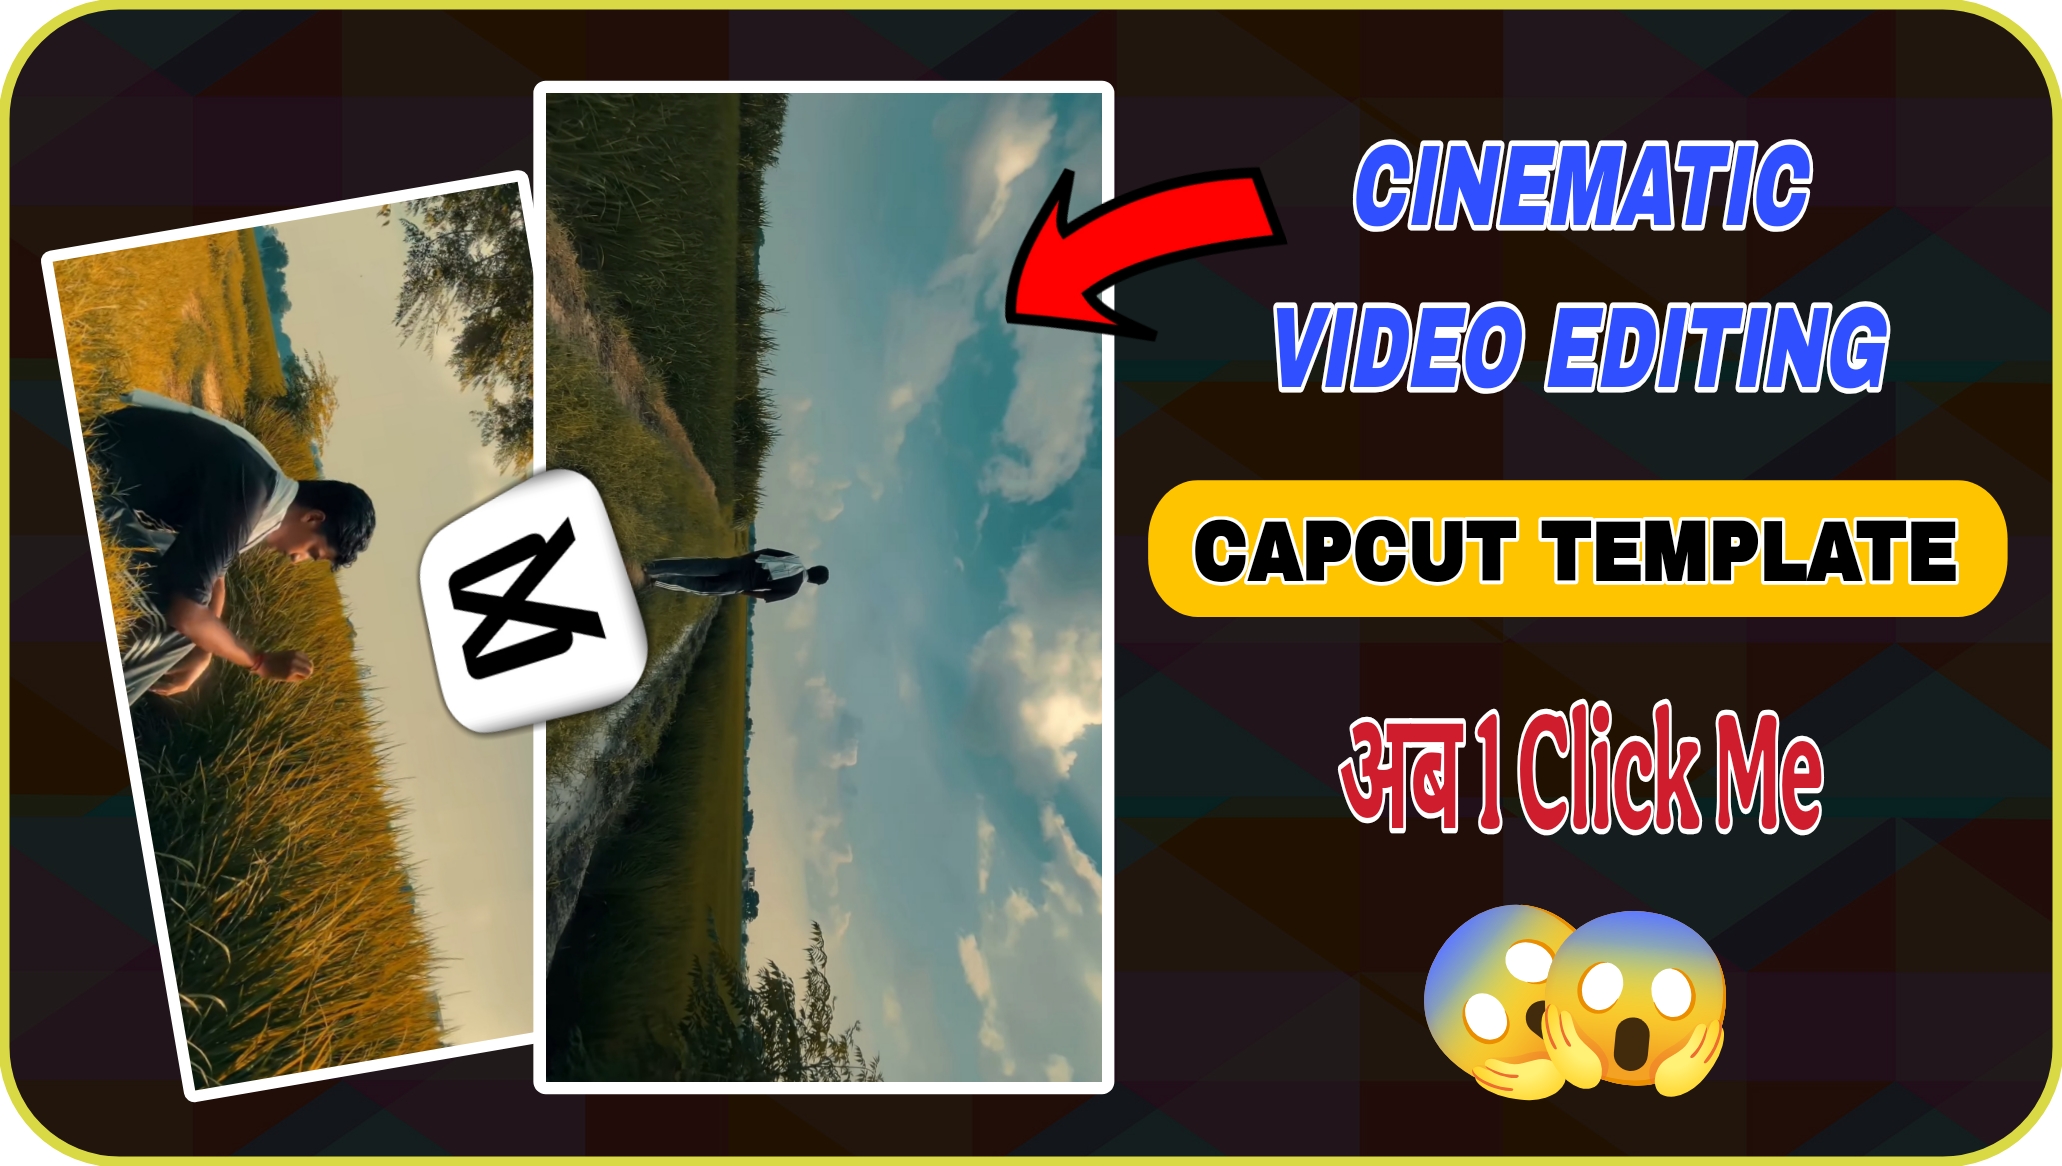
Creating a Cinematic Video with CapCut: A Visual Story in NatureCreating a Cinematic Video with CapCut: A Visual Story in Nature
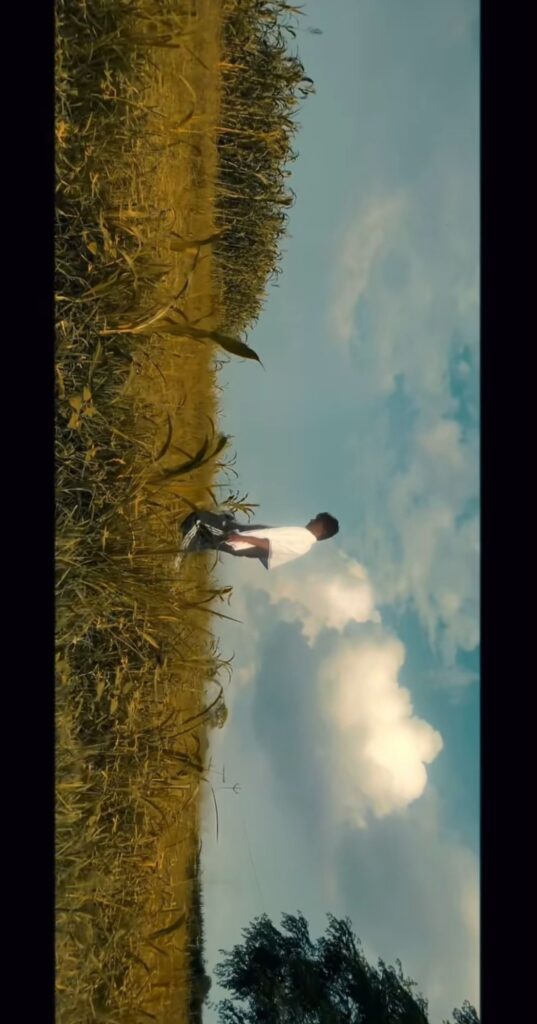
In today’s digital era, creating cinematic videos is no longer limited to professional filmmakers with expensive equipment. With the help of mobile apps like CapCut, anyone can turn simple footage into a visually stunning masterpiece. The image you shared reflects a peaceful rural landscape, where a person stands in a field under a vast sky filled with soft clouds. This scene has strong cinematic potential, and with the right editing techniques, it can be transformed into a powerful video story.
This article will guide you on how to create a cinematic video using CapCut, based on a scene like this.
Understanding the Scene
The image shows a person standing in the middle of a field, surrounded by tall grass or crops. The sky is wide and open, with natural light illuminating the subject. This type of setting is perfect for a cinematic video because it captures simplicity, emotion, and nature.
Key elements in the scene:
Natural lighting (golden hour effect)
Open sky and clouds
Subject in a calm pose
Rural background with greenery
These elements help create a peaceful and emotional tone, which is essential for cinematic storytelling.
How to make cinematic videos step by step
Step 1:- Importing Your Footage
Start by opening CapCut and importing your video clips. Choose clips that match the same environment and mood as the image. Make sure your clips are steady and clear.
Open CapCut
Tap on “New Project”
Select your video clips
Add them to the timeline
Step 2:- Setting the Aspect Ratio
For a cinematic look, the aspect ratio plays a big role. Most cinematic videos use a widescreen format.
Select 16:9 ratio
You can also add black bars (letterbox effect) to enhance the cinematic feel
Step 3:- Color Grading for Cinematic Look
Color grading is the heart of cinematic editing. It gives your video a professional and emotional tone.
In CapCut:
Adjust brightness and contrast
Increase warmth slightly to get a golden tone
Reduce saturation a little for a soft film look
Add a filter like “Cinema” or “Vintage”
Step 4:- Adding Slow Motion
To create a dramatic and cinematic effect, use slow motion.
Select your clip
Tap on “Speed”
Reduce speed to 0.5x or 0.7x
Step 5:- Using Transitions
Smooth transitions help maintain the cinematic flow.
Use simple transitions like Fade or Dissolve
Avoid flashy transitions
Keep it smooth and natural
Step 6:- Background Music
Music is essential for cinematic storytelling. Choose soft, emotional, or instrumental music.
Go to “Audio” section
Add background music
Adjust volume so it doesn’t overpower the visuals
Step 7:- Adding Text and Titles
Minimal text can enhance your video.
Add a simple title at the beginning
Use clean fonts
Keep text short and meaningful
Example: “A Moment of Peace”
“Lost in Nature”
Step 8:- Final Touches
Before exporting:
Check color consistency
Adjust sharpness slightly
Add a slight vignette for focus
Exporting Your Video
Once everything is ready:
Tap on Export
Choose 1080p or 4K quality
Set frame rate to 24fps for a cinematic feel
Conclusion
Creating a cinematic video is all about storytelling, emotion, and visual beauty. With a simple scene like the one shown in your image and the powerful tools of CapCut, you can create a professional-looking cinematic video right from your phone.
Focus on natural lighting, smooth motion, and subtle editing. Keep your style simple and meaningful. With practice, you will be able to turn everyday moments into cinematic stories that capture attention and emotion.